Posted: 1 months ago
#1

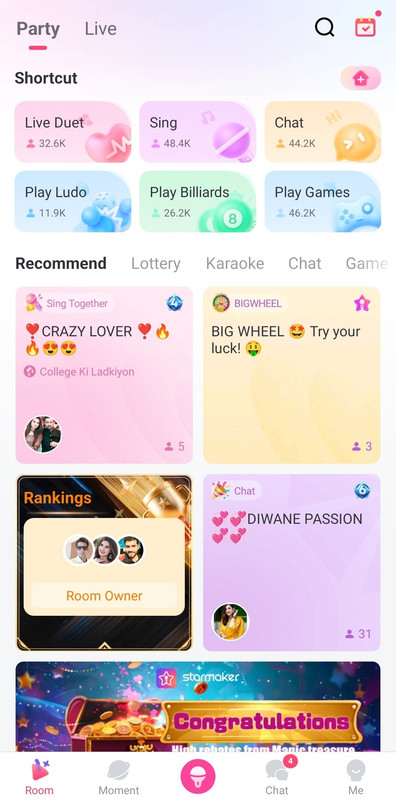
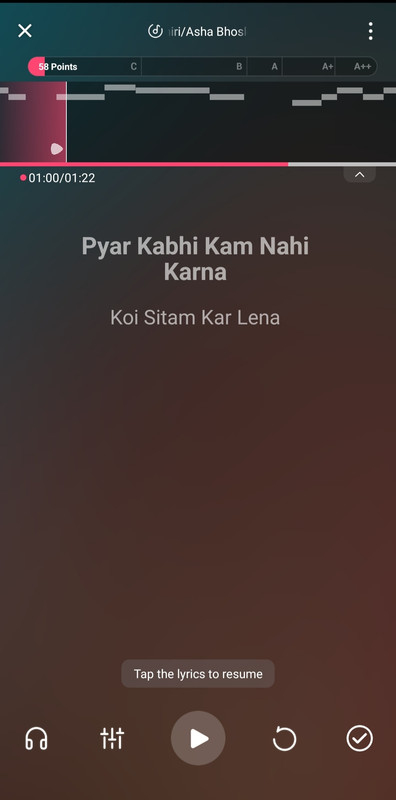
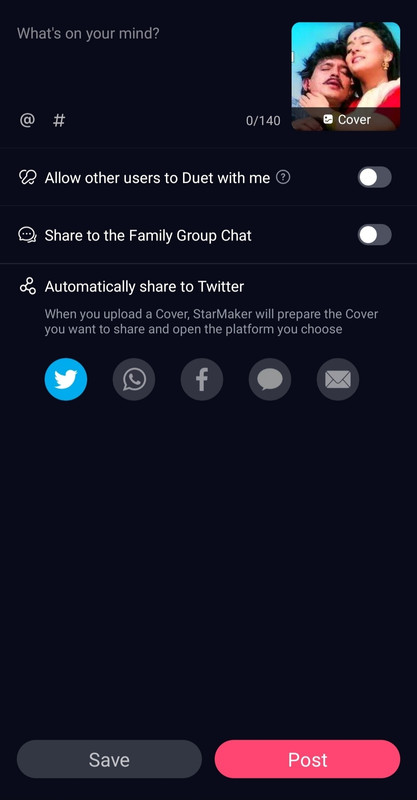
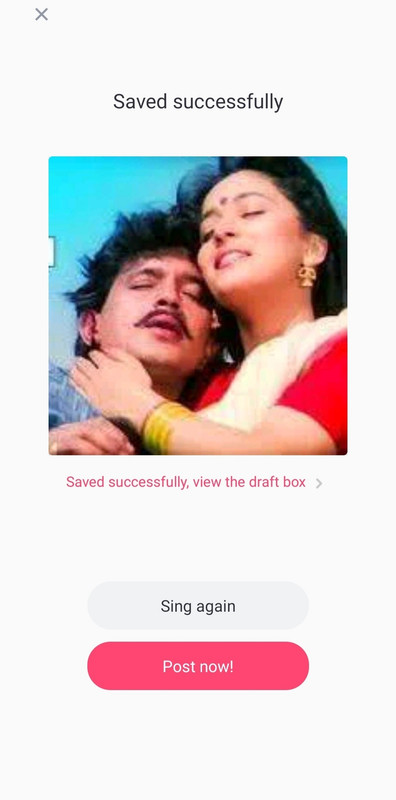
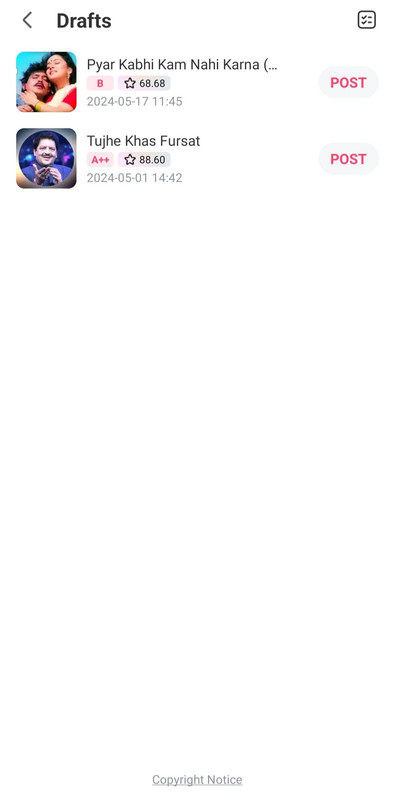
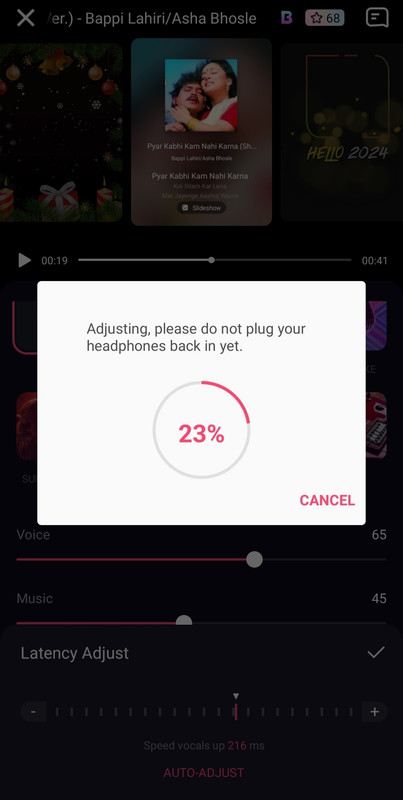
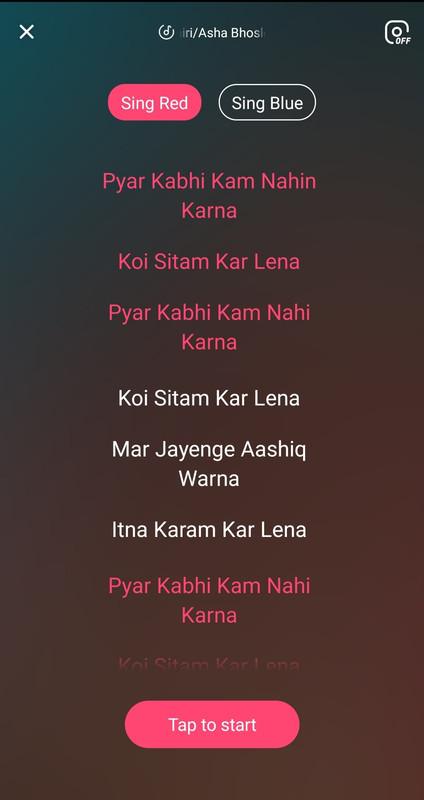
Starmaker is probably the best free Karaoke available at present and is quite famous amongst people who like to sing. However many people find it a bit confusing/difficult to use at first.

This tutorial is aimed at helping out such people based on my limited experience of using Starmaker.

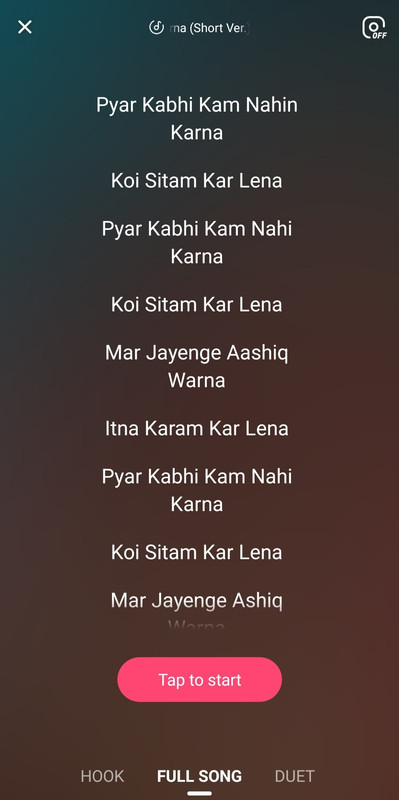
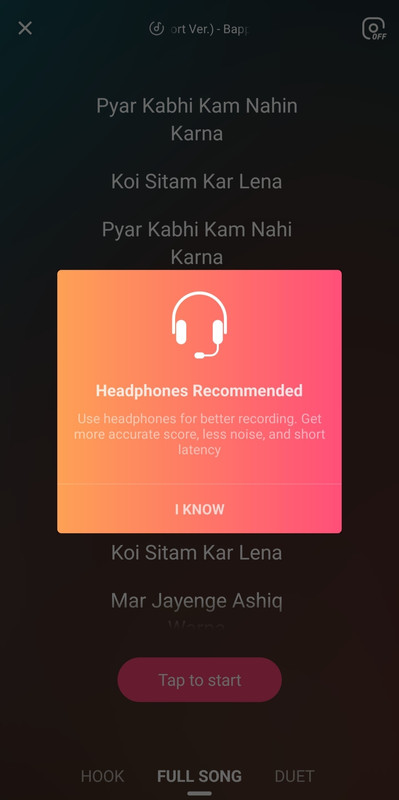
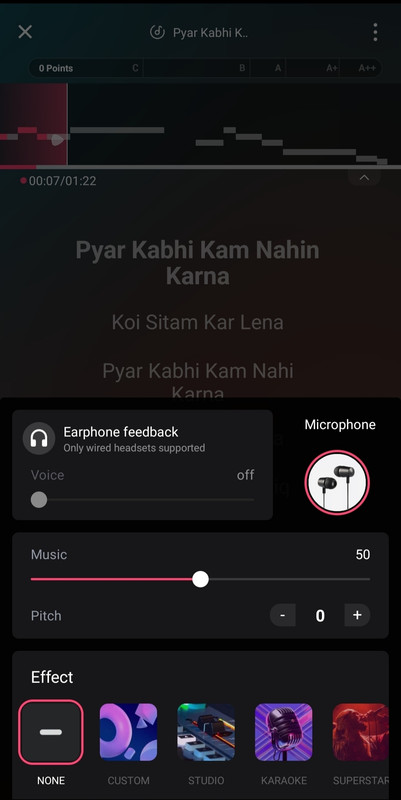
Over the next few posts I will be trying to make your Starmaker journey easier with graphics, explanations and a few tips & tricks of my own. Hope it helps you feel at ease with SM (Starmaker).

So.... Let's get started. 


Edit - Tagging a few members 

P.S. - others are also welcome to add their tips & tricks regarding Starmaker.

Edited by NathuPaapi - 1 months ago

Created

Last reply

Replies

31

Views

773

Users

7

Likes

55

Frequent Posters

Viswasruti thumbnail

Dance Divas

Posted: 1 months ago
#2

It is a good effort by you. smiley10 

Looking forward to the tutorial. smiley27

Posted: 1 months ago
#3

So... Obviously you have to first download the Starmaker app and register an account on it.

Tip - Disable the notifications. They send a lot of notifications which disrupt and distract while recording a song. 

Next when you open the app you will see a similar interface (However they keep changing it with updates)


Image


To start singing a song you need to click on the red mic button in the centre.

It will lead you to the following screen 


Image


Here you can search for songs or select one of the suggestions.

Note that the song tracks which have Points written next to them have cue (Horizontal) lines in the song window (which I'll explain later) and are also graded. The better you sing the higher grade you get ex. A++ is the highest. The ones without points are not graded. 

Tip - I would highly recommend selecting tracks with points as the cue lines (moving Horizontal lines) help in guiding you where to start and stop singing as well as how high or low you are supposed to sing.

Edited by NathuPaapi - 1 months ago
Posted: 1 months ago
#4

So let's say you select the track - Pyar kabhi kam nahi karna' and click on sing next to it 

Image


This will lead you to the following screen πŸ‘‡ 


Image


Here you can select whether you want to sing the full song, a duet or hook (just a few lines from the song).

Let's say you select full song. You will be greeted with the following window.


Image


Or this window if you haven't plugged in your earphone or mic. 


Image


Tip - I highly recommend you to use a good quality earphone with mic for recording the song.

Edited by NathuPaapi - 1 months ago
Posted: 1 months ago
#5

The next pic is very important. 

Image


You will see a small triangular cursor on the left of the window and running horizontal grey lines in the right side of the window which I will call cue lines henceforth.

Just before yours lines start you will see three red dots as seen in the above pic. When u see them get ready to start singing your lines. 

When the cue line touches the white vertical line next to the triangular cursor that's exactly when you have to start your lines or words. (In some tracks the cue lines may not match properly with track and music. In that case you may want to select another track). The cue lines also indicate how high or low you are required to sing a particular segment or line in your song. The higher the lines the higher your pitch. When your timing & pitch matches correctly the lines will become highlighted from grey. The more the lines get highlighted the more notes you are hitting correctly and the better you are singing.


Tip - If you miss your lines you can restart the song clicking on restart button (2nd from the right). Also if you make some mistake and want to reattempt a certain segment you don't need to restart the whole song. Just just drag those lyrics (u want to reattempt) back to the top and your song will restart from there itself, preserving the lines you have already sung before those lines. However note that this only works in the antaras or the beginning of the verses of the songs. In other cases your recording might start midway along the lines. So you have to watch that. 


If you click on the settings icon to the left of pause button you will be presented with the following screen. 


Image


Here you can change the pitch/scale of the song if you are not comfortable singing at that pitch. 

Tip - However I would advice only to go for -1 or + 1 at the max as changing the pitch kind of distorts or changes the music track. I also keep the earphone feedback off and Effect at none. You can always add an effect later.

Edited by NathuPaapi - 1 months ago
Posted: 1 months ago
#6

Originally posted by: NathuPaapi

So let's say you select the track - Pyar kabhi kam nahi karna' and click on sing next to it 

Image


This will lead you to the following screen πŸ‘‡ 


Image


Here you can select whether you want to sing the full song, a duet or hook (just a few lines from the song).

Let's say you select full song. You will be greeted with the following window.


Image


Or this window if you haven't plugged in your earphone or mic. 


Image


Tip - I highly recommend you to use a good quality earphone with mic for recording the song.

Yes, an earphone with mic 🎀 is required to record the songs. 

Posted: 1 months ago
#7

So .... Once you have finished singing the song or even if you want to finish at some point you need to click the tick icon on the extreme right. 

Image


Clicking the βœ”οΈ tick icon will stop recording and present you with the following screen 


Image


Here you can either save your recording as a draft or post it right away. 


Tip - I would suggest to click save which would save it as a draft. You can then adjust voice & music volume of your recording as well as add other effects in the draft before posting. However after saving the draft you cannot modify the lines you have already sung or sing more lines. That you have to do before saving the draft.

Edited by NathuPaapi - 1 months ago
Posted: 1 months ago
#8

Saving to draft will lead to the following screens 

Image


Clicking on X at top will lead you to your drafts as below 

Image


You can also access your drafts by clicking on the ME tab on your app's home screen 


Image

Posted: 1 months ago
#9

Now let's start editing our draft.

Open your draft and the first thing you need to do is adjust the latency setting as shown in the next pic 

Image


Click on 'Latency Adjust' and it will open this dialogue box

Image


Click on ' AUTO-ADJUST' 

This will lead to automatic latency adjustment like this πŸ‘‡ 

Image


You will be required to pull out your headphones and then the debugging process (with beeping sounds) will start like this


Image


Once done, you can again plug in your headphone or earphone.

The Latency has been adjusted.


Tip - Latency adjustment is required to synchronise your voice with the track. You will need to do this only once with a particular earphone or mobile used for recording. If you change your earphone or mobile then you might need to adjust this setting again. Although you can adjust it manually too but I only used Auto-Adjust. 


You can also adjust voice and Music volume at this stage as well as add effects to the recording or play with Denoise settings.


Tip - I would highly recommend not to use Equalizer (especially in duets) as it distorts the music in the recording.

Edited by NathuPaapi - 1 months ago
Posted: 1 months ago
#10

Once you are done with adjusting music and voice volume and adding effects you can proceed to post the song.


Image


Tip - In the 'what's on your mind?' space you can write the name of the song, singers, etc. and you can also use hashtags or tag people by click the # or @ buttons below.


Finally, let's quickly discuss about duets too 


Image


If you click on duet option on the track you will be presented with the above screen where you can select to sing either red or blue parts (lines of rhe two singers in the duet) as indicated in the track. If you select red (as in the above pic) only red parts (lines of a particular singers in that duet) will be highlighted. Those are the only lines you have to sing. Similarly if you choose 'Sing Blue' only the other parts will be highlighted blue and you need to sing only those parts. Then u can post your recording and others can join by singing their parts and posting again.


Tip - don't use Equalizer in duets as it distorts the music in the track. Also you may need to search for an appropriate track for a certain song as many tracks do not have proper singing lines allocation for the two voices in the duet track. 


This Concludes my Starmaker Tutorial. 


If you have any other queries regarding Starmaker feel free to ask. πŸ‘ 


Hope this was helpful ☺️

Edited by NathuPaapi - 1 months ago
Top